

The footer in Outlook is nothing else than email signature – a block of text that is automatically appended to the end of your emails and usually contains contact details or company information. Outlook allows you to edit an existing signature without having to completely reconfigure it, and the change itself usually takes just a few clicks, regardless of whether you're using the app on a computer, browser, or Mac. In this guide, we'll focus on only on the quick change of the existing footer so that you can immediately see the effect in subsequent emails sent – without having to dwell on configuration details or creating a new signature from scratch.
New Outlook for Windows (new Outlook)
IN The new Outlook for Windows editing an existing footer (i.e. signature e-mail) is done directly from the application settings and does not require opening the message. Below you will find step-by-step instructions on how to do it:
How to edit footer in New Outlook:
Open New Outlook on your Windows computer.
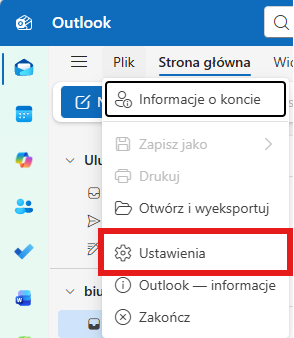
Click on the icon Settings – this is the gear in the upper right corner of the application window.
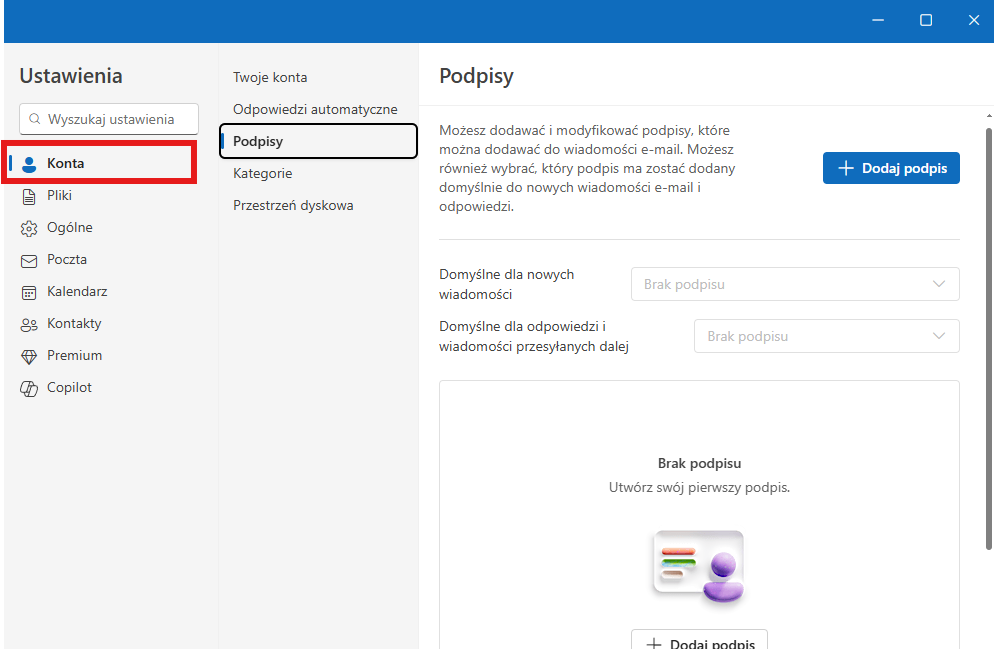
In the settings panel, select Accountsand then Signatures – this will open a list of saved signatures for your email accounts.
Select the signature you want from the list to change, and click the icon Edit or just enter its content.
Make changes: edit footer text, contact information, or other elements. You can also change the formatting.
After editing, click Save, to confirm changes.
Tip: If you have different email accounts assigned in Outlook, make sure you are editing the signature for the correct account – each can have its own separate footer.
This simple process will allow you to quickly update your footer in the current version of the app without having to create a new signature from scratch or open a new message window.
Outlook for Windows (classic Outlook)
IN classic Outlook for Windows signatures (i.e. email footers) are edited via the program settings available from the menu File > Options > Mail, and then the panel Signatures – this is the standard path in older versions of Outlook (Outlook 2019/2016/Office 365 desktop).
How to change the footer (signature) in classic Outlook:
Open Microsoft Outlook on a Windows computer.
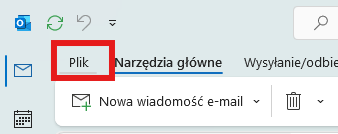
In the upper left corner, click File.
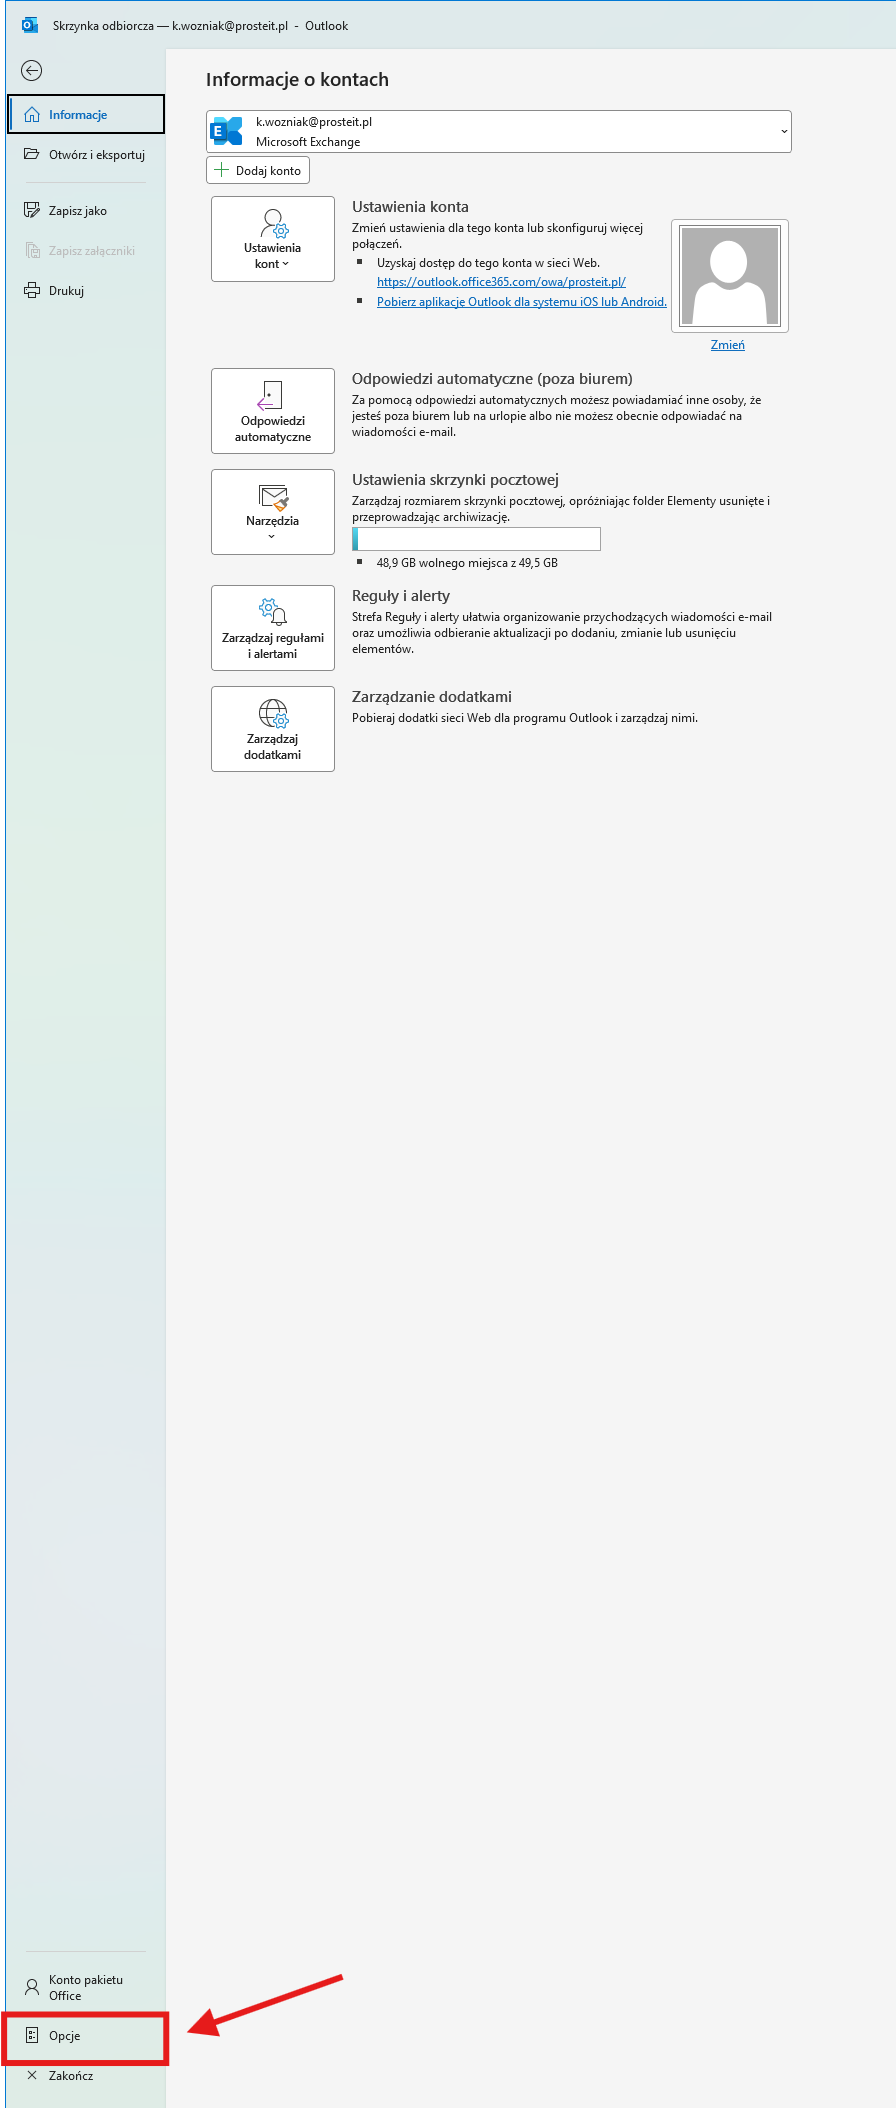
From the menu on the left, select Options, then go to the section Mail.
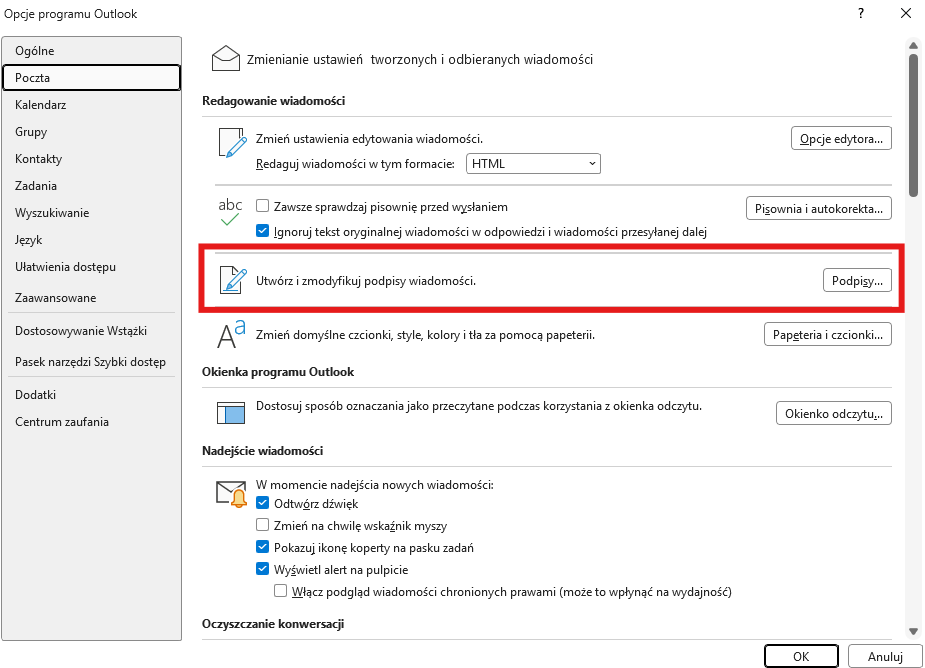
In the section Composing messages click Signatures… – the signature management window will open.
In the window Signatures and stationery select the signature you want to change.
In the field Edit signature Enter new content – change text, contact details, formatting or other footer elements.
When you are finished, click Save, and then OK, to confirm changes and close the settings window.
Quick alternative: if you prefer a shorter path, you can open New email message, then on the ribbon bar go to Message > Signature > Signatures… and edit the signature there in the same signature management window.
Practical note: In classic Outlook, signatures are tied to email accounts – if you have more than one account, make sure you edit the signature appropriate for the account you use to send emails most often.
This method allows you to quickly improve your existing footer without creating new settings and without having to change your global account preferences.

Outlook for Mac
IN Outlook for Mac changing the existing footer (i.e. e-mail signature) is done from the level application settings, without having to open a new message. This approach is consistent regardless of Outlook version. macOS – only the menu layout differs.
How to edit a footer in Outlook for Mac:
Open Microsoft Outlook on Mac.
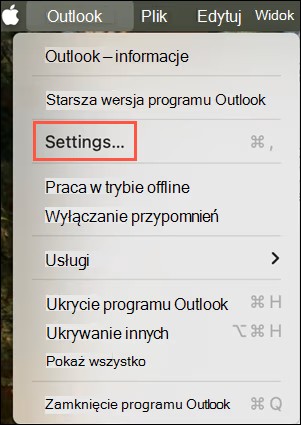
On the top menu bar, click Outlook and choose Settings.
In the section Mail / Email choose Signatures — the signature management panel will open.
From the list of signatures on the left, select the one you want to change.
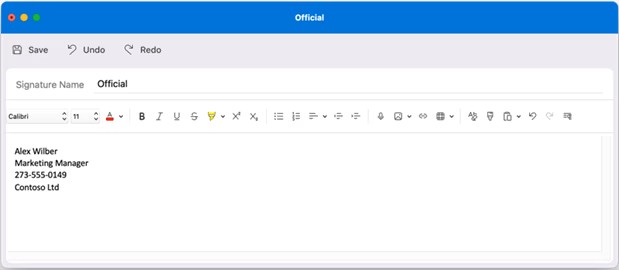
Click Edit or just enter the signature text field and update content — correct data, text, links, etc.
After making changes, select Save, to save a new version of the footer.
Additional tips:
• If you use multiple email accounts in Outlook, make sure you are editing the signature for the correct account – each account can have a separate signature.
• In the panel Signatures you can also set whether the footer should be added automatically to new messages, answers or forwarded.
This path allows you to quickly update an existing footer in Outlook on Mac, without having to create a new signature from scratch.
Quick test after change
After saving the new version of the footer, it is worth checking immediately whether changes work in practice and whether the signature appears where it should. It's simple, and it helps avoid surprises when sending real emails.
How to quickly test your footer after editing:
Create a new message
• Open Outlook and start writing a new message.
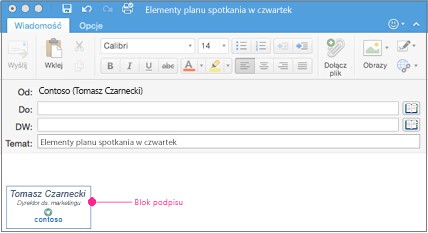
• Check if the footer automatically appears at the bottom of the email – this confirms that the signature has been saved correctly.
Send a test email to yourself
• Send a test email (e.g. to your second email address).
• Receive it and preview how the signature looks in the inbox – this is the best way to see the effect on the recipient.
Check out the different types of messages
• Open a reply to an existing email or forward it - sometimes the signatures assigned to replies may be different than those assigned to new messages.
Make sure the signature is assigned to the correct account
• If you have multiple email accounts in Outlook, verify that the footer displays for the correct address.
This quick test will allow you to make sure that the footer change was applied correctly and works as expected in everyday correspondence – no formatting errors or missing contact details.